How to Set Up eSIM Before Travel: Step-by-Step Guide (2026)
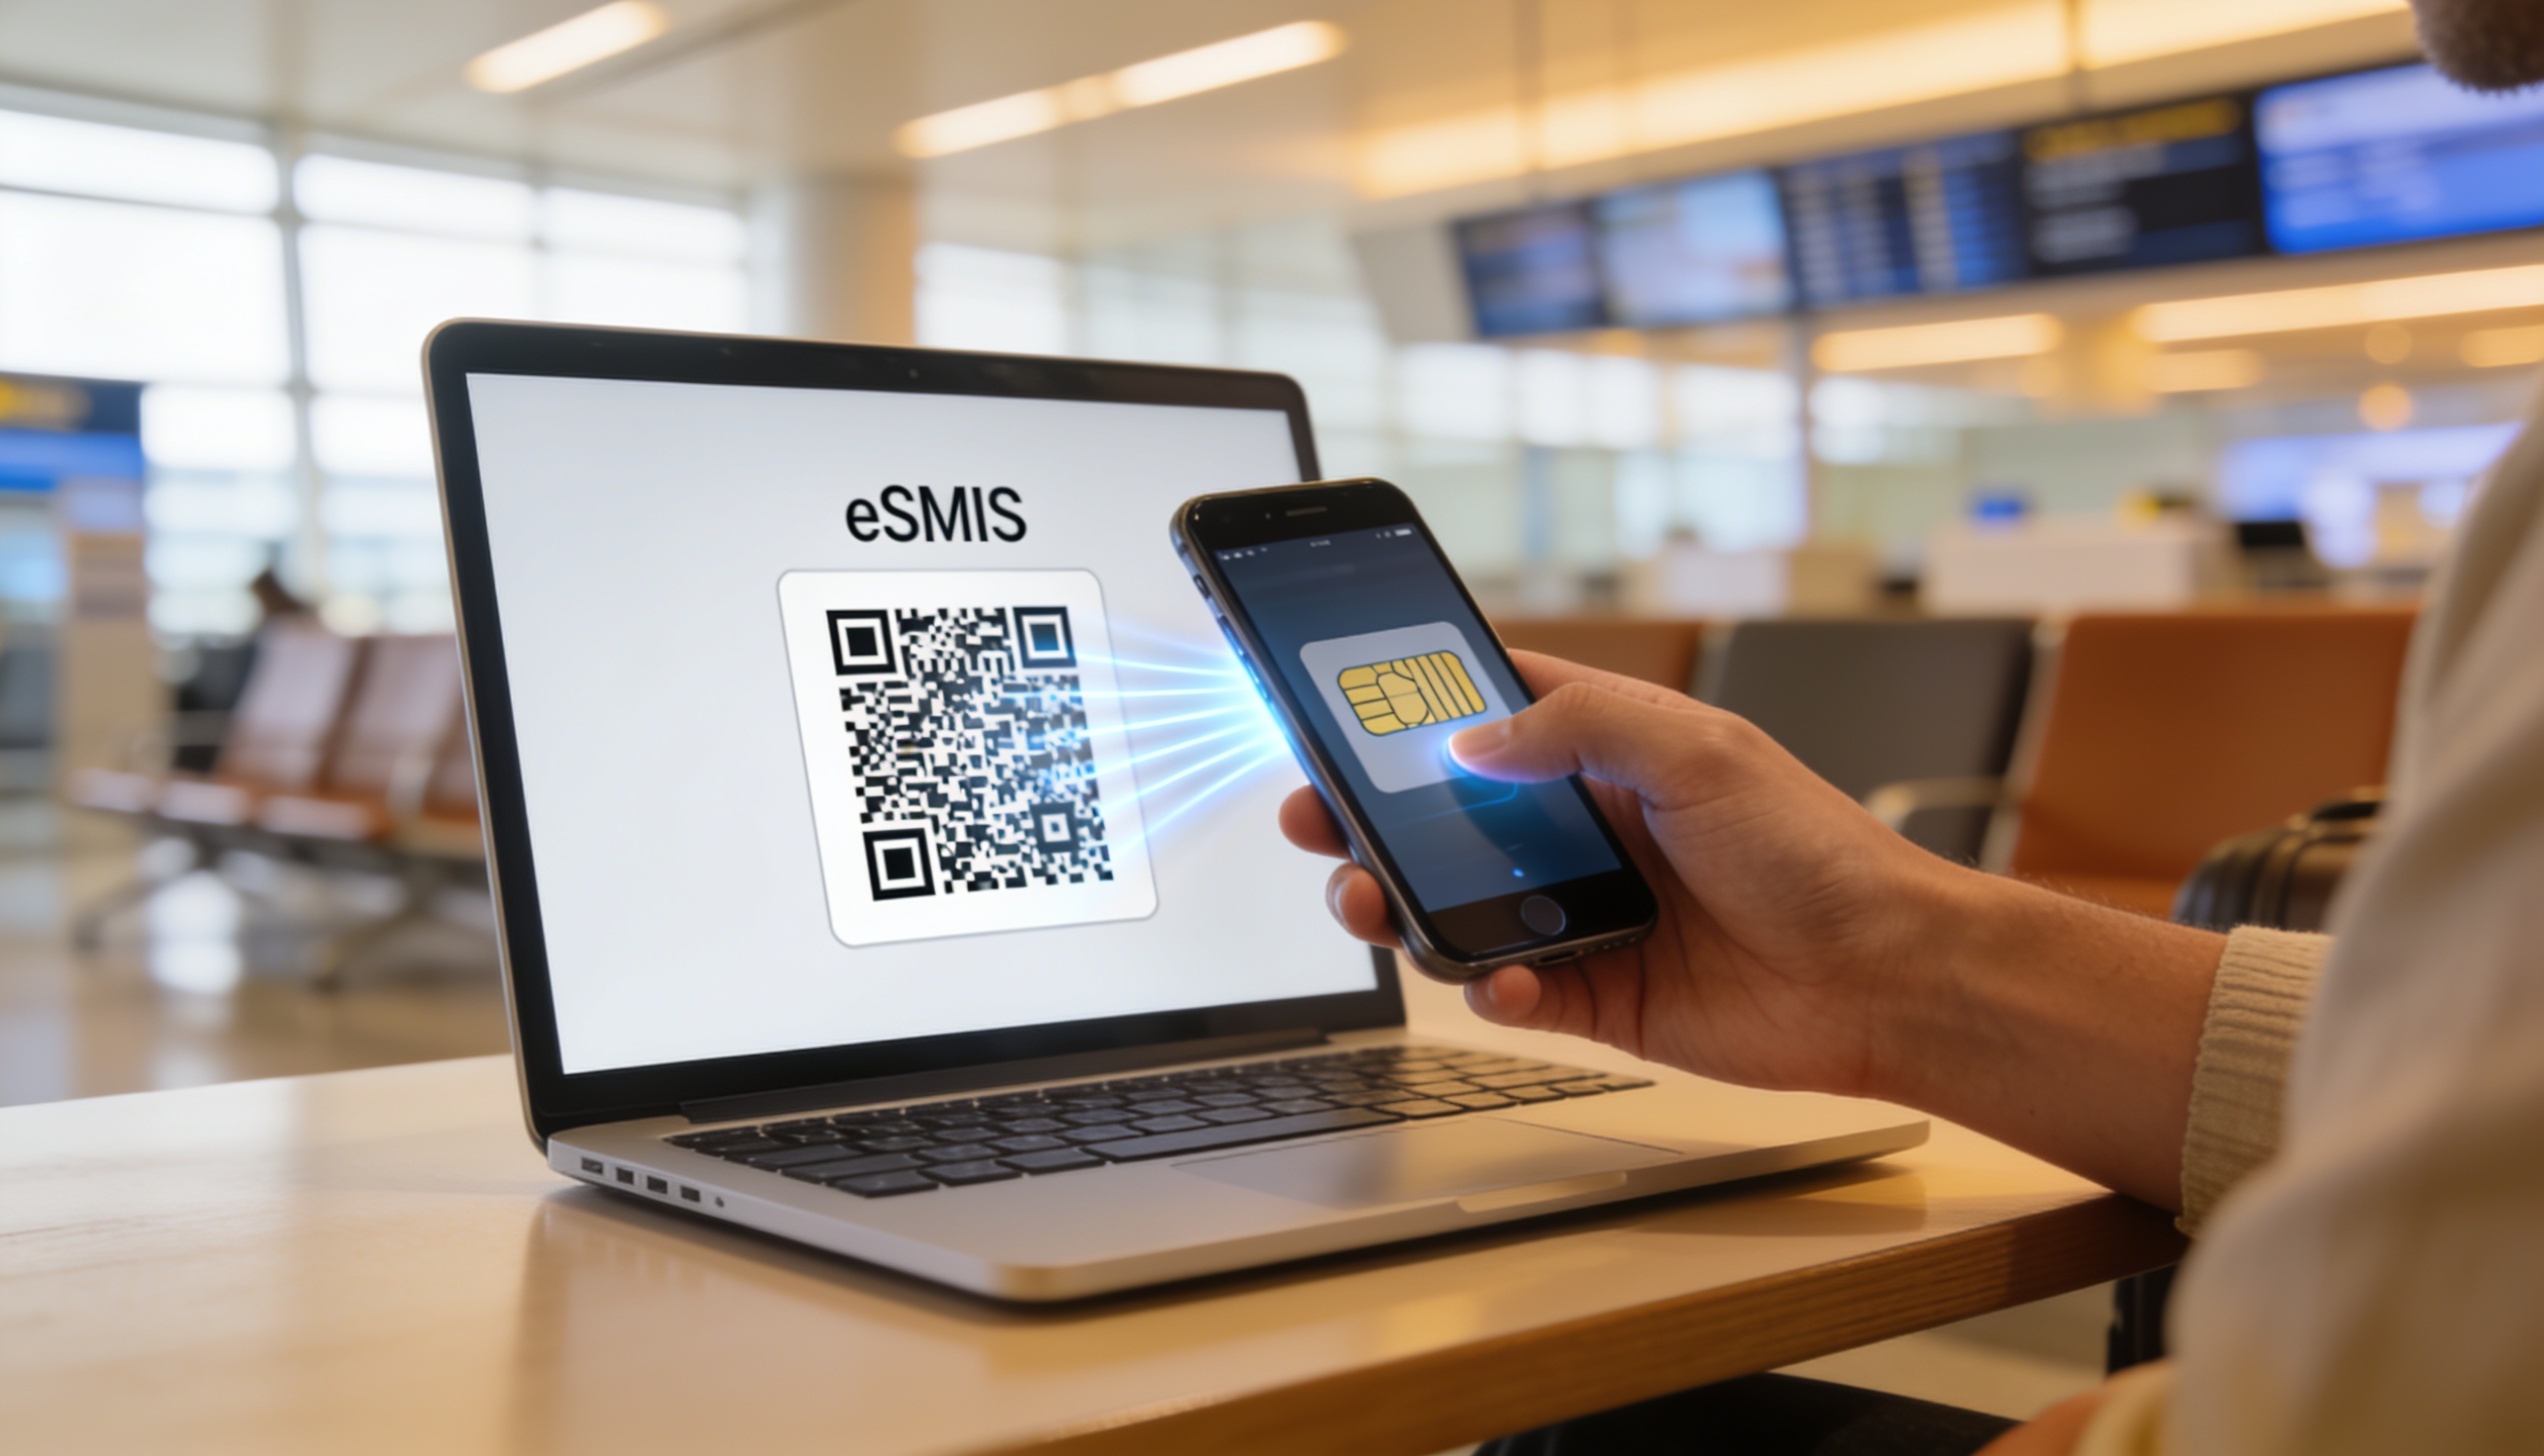
The difference between landing with data and landing without it comes down to five minutes of prep before you leave home. Setting up an eSIM before travel is genuinely straightforward — scan a QR code on your home Wi-Fi, configure one setting, and that's it. Your phone connects automatically when you land, no airport SIM hunt required. This guide covers exactly how to set up eSIM before travel: from checking compatibility to the four steps that get you connected, with specific instructions for iPhone and Android.
Before You Start: Check Your Phone Supports eSIM
Not all phones support eSIM, and an eSIM from any provider simply won't install on an incompatible device. The fastest way to check: dial *#06# on your phone. If you see an EID number (a long string below your IMEI), your phone has eSIM hardware. If you only see an IMEI, eSIM is not supported on that device.
As a general reference, eSIM support covers iPhone XS and later (including all iPhone 11, 12, 13, 14, 15, 16, and SE 2nd/3rd gen models), most Samsung Galaxy S series from the S20 onwards, and Google Pixel phones from the Pixel 3 onwards. Check your specific model if you're unsure — eSIM support varies even within the same product line on some Android manufacturers.
One additional requirement: your phone must be carrier-unlocked. A phone locked to one carrier will typically block eSIM profiles from other providers. If you bought your phone on a contract and haven't requested an unlock, do that before purchasing a travel eSIM — the process usually takes a few days and is free once your contract period is satisfied.
Step 1 — Buy Your Travel eSIM Plan
Once you've confirmed compatibility, the next step is choosing and purchasing a plan. Compare providers by destination at roamprice.com — filter by country, set your trip length and data estimate, and the results rank every available plan by price per GB. Look for a plan that covers your destination and has a validity period that matches your trip, with a day or two of buffer.
After purchase, your provider will send a QR code — usually via email — along with an activation code or SM-DP+ address for manual entry if QR scanning isn't available. Save that email before you travel. You'll scan the QR code at home in the next step; if you lose access to it at the airport, recovery can be slow.
Timing: buy your eSIM plan 3–7 days before departure. This gives you time to install and troubleshoot at home, rather than at the departure gate. Most eSIM plans do not start their validity countdown when you scan the QR code — they start when your eSIM first connects to a cellular network at your destination. Buying early is free from a plan-burning perspective.
Step 2 — How to Set Up eSIM Before Travel (Install on Home Wi-Fi)
Install your eSIM at home, 1–3 days before departure, while connected to stable Wi-Fi. The installation process downloads the eSIM profile to your phone but does not start your plan — the validity countdown begins when your phone first connects to a cellular network at your destination. You can install as early as you like without wasting data.
On iPhone (iOS 16 and later)
Open Settings → Cellular → Add Cellular Plan (on some iPhones this appears as "Mobile Data" depending on your region). Your camera will open to scan the QR code from your provider's email.
If you're on iOS 17.4 or later and received the QR code inside Apple Mail or Safari, you can also tap and hold the QR code image and select Add eSIM directly — no need to open Settings separately.
Once scanned, you'll see a confirmation screen with the plan name. Tap Continue, then Add Cellular Plan. The profile downloads in under a minute on a stable connection. You do not need to enable the eSIM immediately — leave it installed but inactive until you land.
If your provider gave you a manual code instead of a QR code, go to Settings → Cellular → Add Cellular Plan → Enter Details Manually at the bottom of the screen, and enter the SM-DP+ address and activation code from your confirmation email.
On Android (Google Pixel and Samsung Galaxy)
Google Pixel: Open Settings → Network & Internet → SIMs → Add SIM. When prompted, choose to scan a QR code. Point your camera at the QR code from your provider, wait for it to detect, and confirm the installation. The profile installs in under two minutes.
Samsung Galaxy: Open Settings → Connections → SIM Manager → Add eSIM. Follow the on-screen prompts to scan your QR code. Samsung's SIM Manager will also let you name each line and assign ringtones — useful if you're running your home SIM alongside the travel eSIM.
On other Android devices, the path is typically Settings → Network → Mobile Network → Add eSIM or similar — the exact wording varies by manufacturer and Android version. Search for "eSIM" in your Settings search bar if you can't locate it.
Step 3 — Configure Your Lines Before You Fly
After installation you'll have two lines active on your phone: your home SIM and the new travel eSIM. Configure them correctly before you board:
- Default voice and SMS: keep your home SIM as the default for calls and texts. This means your regular number stays reachable for incoming calls and 2FA codes.
- Default data: leave this set to your home SIM for now. You'll switch it to the travel eSIM when you land.
- Data roaming on the travel eSIM: turn this on. This is the most commonly missed step — if data roaming is off, your travel eSIM will show signal bars but deliver no data. On iPhone: Settings → Cellular → [Travel eSIM name] → Data Roaming → On. On Android: Settings → SIM Manager → [Travel eSIM] → Roaming → On.
- Label your lines: rename them clearly ("Home" and "Thailand eSIM", for example) so there's no confusion mid-trip when toggling between them.
Step 4 — What to Do When You Land
You've done the work. Landing is the easy part. As soon as you're off the plane and have turned airplane mode off, do these three things in order:
- Switch your default mobile data to the travel eSIM. On iPhone: Settings → Cellular → Cellular Data → select your travel eSIM line. On Android: Settings → SIM Manager → Mobile Data → select your travel eSIM.
- Confirm data roaming is on for the travel eSIM line. If you did this in Step 3, it should already be set — but worth a quick check.
- Wait 60 seconds. The eSIM needs a moment to register on the local network. Open a browser after a minute. If you're online, you're done.
If you still have no data after 60 seconds, toggle airplane mode on and off once. This forces the phone to re-register on the network. If it still doesn't connect, check that the eSIM line is turned on (not just installed) and that data roaming is enabled — those two settings account for the vast majority of post-arrival connection failures.
Common eSIM Setup Mistakes to Avoid
Installing at the airport. eSIM installation requires a stable internet connection. Airport Wi-Fi is slow and sometimes blocks QR code scanning. Set up at home — it takes five minutes and removes all the stress.
Buying a plan with the wrong validity. A 7-day plan bought a week before departure does not give you 7 days of coverage on your trip — most plans start counting from first connection, but some start from purchase or activation date. Read the validity terms before you buy.
Forgetting to turn on data roaming. This is the single most common reason a correctly installed eSIM shows no data. The eSIM line needs data roaming enabled to work outside your home country — that's essentially what travel eSIMs are for.
Trying to transfer an eSIM between devices. Most travel eSIMs are single-use and tied to one device. Once installed, you cannot transfer the profile to a different phone. If you upgrade phones before your trip, you'll need a new eSIM for the new device.
Assuming your phone is unlocked. Bought on a carrier plan? Check. Call your carrier or use an online checker before purchasing your travel eSIM — a locked phone is the one problem that can't be fixed at the airport.
Frequently Asked Questions
Does setting up an eSIM before travel start my plan?
No — installing the eSIM profile on your phone does not start your plan's validity. For most travel eSIM plans, the countdown begins when your eSIM first connects to a cellular network at your destination. You can install days before departure without using any of your plan. Always verify the specific terms with your provider, as a small number of plans do count validity from activation date.
How do I know if my phone supports eSIM?
Dial *#06# on your phone. If an EID number appears alongside your IMEI, your phone has eSIM hardware. As a general guide, eSIM is supported on iPhone XS and later, Samsung Galaxy S20 and later, and Google Pixel 3 and later — but the best confirmation is the EID check, since support varies by region and carrier variant within the same model line.
Can I have both my regular SIM and a travel eSIM active at the same time?
Yes — this is the most practical setup for international travel. Keep your home SIM active for calls and SMS (so your number stays reachable for 2FA and incoming calls), and use your travel eSIM as the default data line. Most modern smartphones support dual-SIM, and the eSIM/physical SIM combination is the most common configuration for travelers.
What if my eSIM doesn't connect when I land?
Check these in order: (1) Is the travel eSIM line toggled on? (2) Is data roaming enabled for that line? (3) Is mobile data set to the travel eSIM, not your home SIM? If all three are correct and you still have no data, toggle airplane mode on and off to force a network re-registration. If the problem persists, check the APN settings with your provider — some carriers require a manual APN entry.
Can I install an eSIM without a QR code?
Yes — most providers also offer manual entry using an SM-DP+ address and an activation code. On iPhone, go to Settings → Cellular → Add Cellular Plan → Enter Details Manually. On Android, the option usually appears at the bottom of the QR scanner screen. Contact your provider for the manual entry details if the QR code is missing or won't scan.
Ready to pick your travel eSIM plan?
Compare providers by destination, data, validity, and price per GB — free, unbiased, no sign-up required.
Compare eSIM plans at RoamPrice →