How to Switch Between eSIM and SIM Card While Travelling (2026)
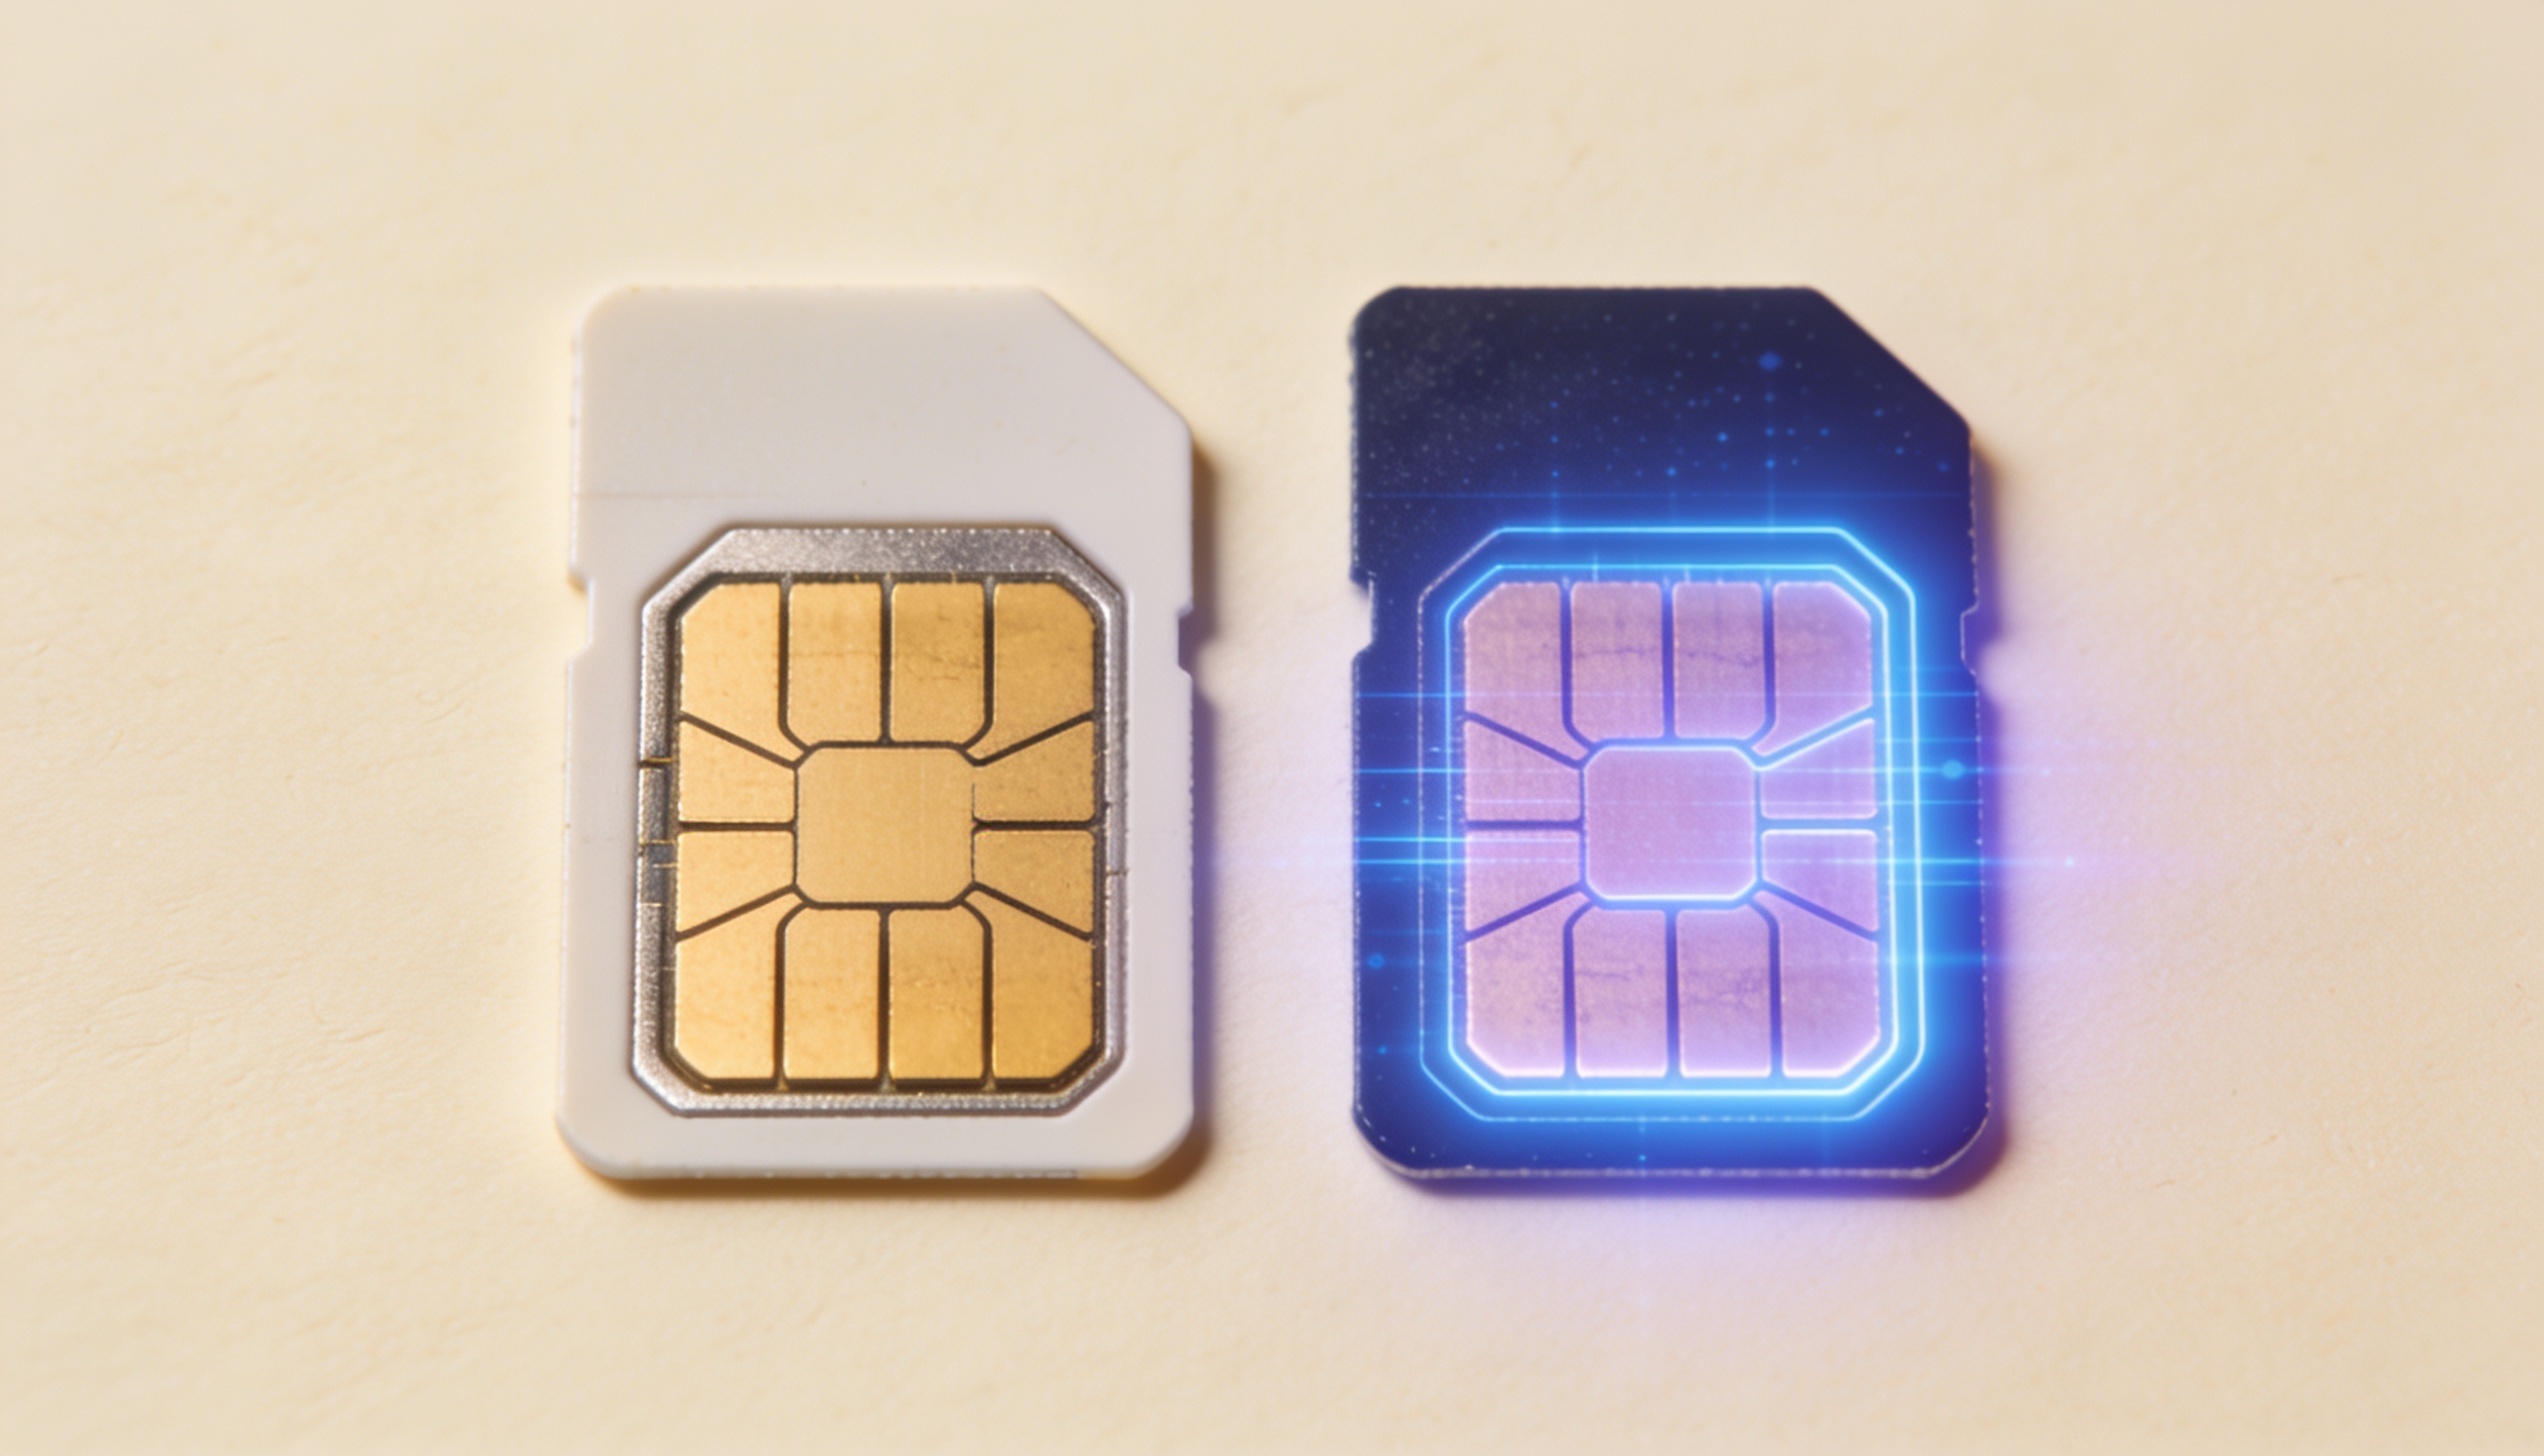
When you travel internationally, you face a choice that most people handle badly: keep your home SIM and pay expensive roaming rates, or swap to a local SIM and lose your phone number. The right answer is neither. Most modern smartphones can run a physical SIM and an eSIM simultaneously — which means you can keep your home number active for calls and messages while routing all your data through a travel eSIM. This guide explains exactly how to set that up on iPhone and Android, and what to configure so you don't accidentally burn through expensive roaming data on your home plan.
The short version: Install your travel eSIM before you leave. On arrival, go to Settings → Cellular (iPhone) or Settings → SIM Manager (Android), set your travel eSIM as the data line, and turn off data roaming on your home SIM. Both lines stay active — calls and texts go through your home number, data goes through the eSIM.
What Is Dual SIM and Why Does It Matter for Travellers?
Dual SIM means your phone has two active lines simultaneously. On most phones sold today, this is handled by a physical SIM slot plus an embedded eSIM — a chip built into the phone that can hold one or more digital profiles. When both are active, the phone uses Dual SIM Dual Standby (DSDS): both lines can receive calls and texts at the same time, while you choose which one handles mobile data.
For travel, the practical effect is significant. Your home SIM stays in the phone and keeps your regular number available — anyone who calls or texts you on your normal number will reach you. Your travel eSIM handles all data traffic, giving you local rates without roaming charges. You don't need to notify your bank that your number is unchanged. You don't miss two-factor authentication codes sent to your number. You don't have to physically swap anything.
The setup takes about five minutes and is the same across most devices with minor variations for iOS versus Android.
Step 1 — Check Your Phone Supports eSIM
Most flagship phones sold from 2019 onwards support eSIM. The main exceptions are some phones sold in China and certain carrier-locked budget handsets. To check: on iPhone, go to Settings → General → About and look for an EID number (a 32-digit code starting with 89). If it's there, your phone supports eSIM. On Android, go to Settings → About Phone → SIM Status or Settings → Connections → SIM Manager — if you see an option to add an eSIM or manage eSIM profiles, you're good.
Notable things to know in 2026: iPhones sold in the US from the iPhone 14 onwards are eSIM-only — no physical SIM slot. These models can hold two eSIM profiles active simultaneously. If you're travelling with a US-market iPhone 14 or newer, the setup is slightly different (both lines are eSIMs rather than one physical, one digital) but the configuration logic is identical.
Step 2 — Install Your Travel eSIM Before You Leave
eSIM installation requires an internet connection, so do it at home on Wi-Fi before departure — not at the airport, not on arrival. When you purchase a travel eSIM from a provider, you receive either a QR code or an activation code. Scanning the QR code (or entering the code manually) downloads the eSIM profile to your phone. The profile is stored on the device; you don't need to be online to switch between profiles once they're downloaded.
Important distinction: downloading the profile is not the same as activating service. Most travel eSIMs don't begin counting validity days until your device connects to a local network at your destination. Install the profile at home — this just saves the plan to your phone — and it will activate automatically when you land and your phone picks up the local carrier signal.
Step 3 — Configure Your Lines on iPhone
- Go to Settings → Cellular (or Mobile Data on some regions)
- Tap Cellular Data → select your travel eSIM as the data line
- Tap Default Voice Line → select your home SIM for outgoing calls
- Tap your home SIM line → turn Data Roaming off
- Tap your travel eSIM line → turn Data Roaming on (required for it to work abroad)
- Optionally: give each line a label (e.g. "Home" and "Travel") for clarity
After this configuration: all mobile data goes through the travel eSIM. Calls and SMS use your home number. iMessage and FaceTime will continue to work on your home number as long as Wi-Fi or the travel eSIM's data is active.
Switching the data line mid-trip
If you want to temporarily switch which line handles data — for example, if you cross a border and the travel eSIM doesn't cover the new country — go to Settings → Cellular → Cellular Data and tap the line you want. The switch is immediate and you don't need to restart the phone. You can also add a second eSIM for the new country and switch between profiles the same way.
Step 4 — Configure Your Lines on Android
- Go to Settings → Connections → SIM Manager (Samsung) or Settings → Network & Internet → SIMs (Pixel/stock Android)
- Under Mobile Data, select your travel eSIM
- Under Calls (or Default SIM for calls), select your home SIM
- Tap your home SIM → disable Data Roaming
- Tap your travel eSIM → confirm it is set as the data SIM and roaming is enabled
Android manufacturers use slightly different menu names but the logic is identical. On Pixel phones, look for "Preferred SIM for data." On OnePlus, it's under "Dual SIM & Mobile Network." The setting you need is always the one that lets you assign data to one line and calls to another.
Common Mistakes — and How to Avoid Them
Forgetting to disable data roaming on your home SIM
This is the most expensive mistake. If data roaming is left on for your home SIM and your travel eSIM loses signal for any reason, the phone will silently fall back to your home carrier's roaming connection. Depending on your carrier, this can result in significant charges in a short time. Always confirm data roaming is off on the home SIM line before landing.
Treating installation as activation
Downloading an eSIM profile to your phone does not start your data plan. Most travel eSIMs activate only when your device registers on a local network at the destination. If your plan shows as installed but not active, this is normal — it will activate automatically when you arrive and your phone picks up the carrier signal. If it doesn't activate within 10–15 minutes of landing, try toggling Airplane Mode off and on to force a network scan.
Not labelling your lines
On iPhone, your SIM profiles will appear with generic names ("Primary," "Secondary") unless you label them. Go to Settings → Cellular → tap each line → Custom Label, and give them readable names ("Home" and "Travel" or the country name). This matters when you're standing at an airport trying to remember which line handles what.
Using Wi-Fi Calling without understanding the implications
If your home carrier supports Wi-Fi Calling and it's enabled, calls to your home number will go through internet rather than the cellular network — which means they work even if your home SIM has no signal. This is useful, but make sure Wi-Fi Calling is using the correct line. On iPhone: Settings → Cellular → tap your home SIM → Wi-Fi Calling.
eSIM-Only iPhones (US iPhone 14 and Newer)
iPhones sold in the United States from the iPhone 14 series onwards do not have a physical SIM slot. They support multiple eSIM profiles and can run two simultaneously. If you're carrying one of these phones, the setup is identical to the dual SIM guide above — the only difference is that both your "home" line and your "travel" line are eSIM profiles rather than one physical and one digital. The assignment of data vs. calls to each line works the same way through Settings → Cellular.
If you're travelling from the US with one of these phones and your home carrier is AT&T, T-Mobile, or Verizon, check whether your carrier allows eSIM-to-eSIM transfer before your trip — some carriers require a brief customer service call to authorise a second active eSIM profile.
Frequently Asked Questions
Can I use an eSIM and a physical SIM at the same time?
Yes, on most modern smartphones. The combination of a physical SIM and an eSIM running simultaneously is called Dual SIM Dual Standby (DSDS). Both lines can receive calls and texts at the same time. You choose which line handles mobile data in settings. This works on iPhone XS and newer, Samsung Galaxy S20 and newer, Google Pixel 3 and newer, and most flagship Android phones from 2020 onwards.
Will my home number still receive calls if I use a travel eSIM for data?
Yes. Your home SIM stays active in the phone and your home number remains reachable for calls and texts throughout your trip. You configure the phone to route data through the travel eSIM while calls go through the home SIM. Both lines are standby simultaneously — callers reach you on your normal number as usual.
How do I switch which eSIM is active?
On iPhone: Settings → Cellular → Cellular Data → tap the line you want active for data. The switch takes effect immediately without restarting. On Android: Settings → Connections → SIM Manager → Mobile Data → select the preferred line. If you have multiple eSIM profiles installed, you can switch between them the same way — you don't need to reinstall or reactivate anything.
Do I need internet to switch between eSIM profiles?
No. Once eSIM profiles are downloaded and stored on your device, switching between them happens entirely within the phone's settings — no internet connection required. This is one of the practical advantages of eSIM over physical SIM swapping: you can change plans mid-trip without needing Wi-Fi to do so.
My phone is carrier-locked. Can I still use a travel eSIM?
A carrier-locked phone is locked to one carrier's network for calls and data — but it may still accept eSIM profiles from other providers if the lock applies only to the physical SIM slot. This varies by carrier and country. Check with your home carrier whether your device is locked and whether the lock applies to eSIM. In many countries, carriers are required to unlock phones after a contract period.
Find the right travel eSIM for your next trip.
Compare plans from top providers by destination, data amount, and validity — free, unbiased, no sign-up required.
Compare eSIM plans →